
Flexite Flexible Partials are Unbreakable. Choose From a Variety of Allergy Free, Biocompatible Plastics. Tell Your Dentist You Want Only Genuine Flexite!


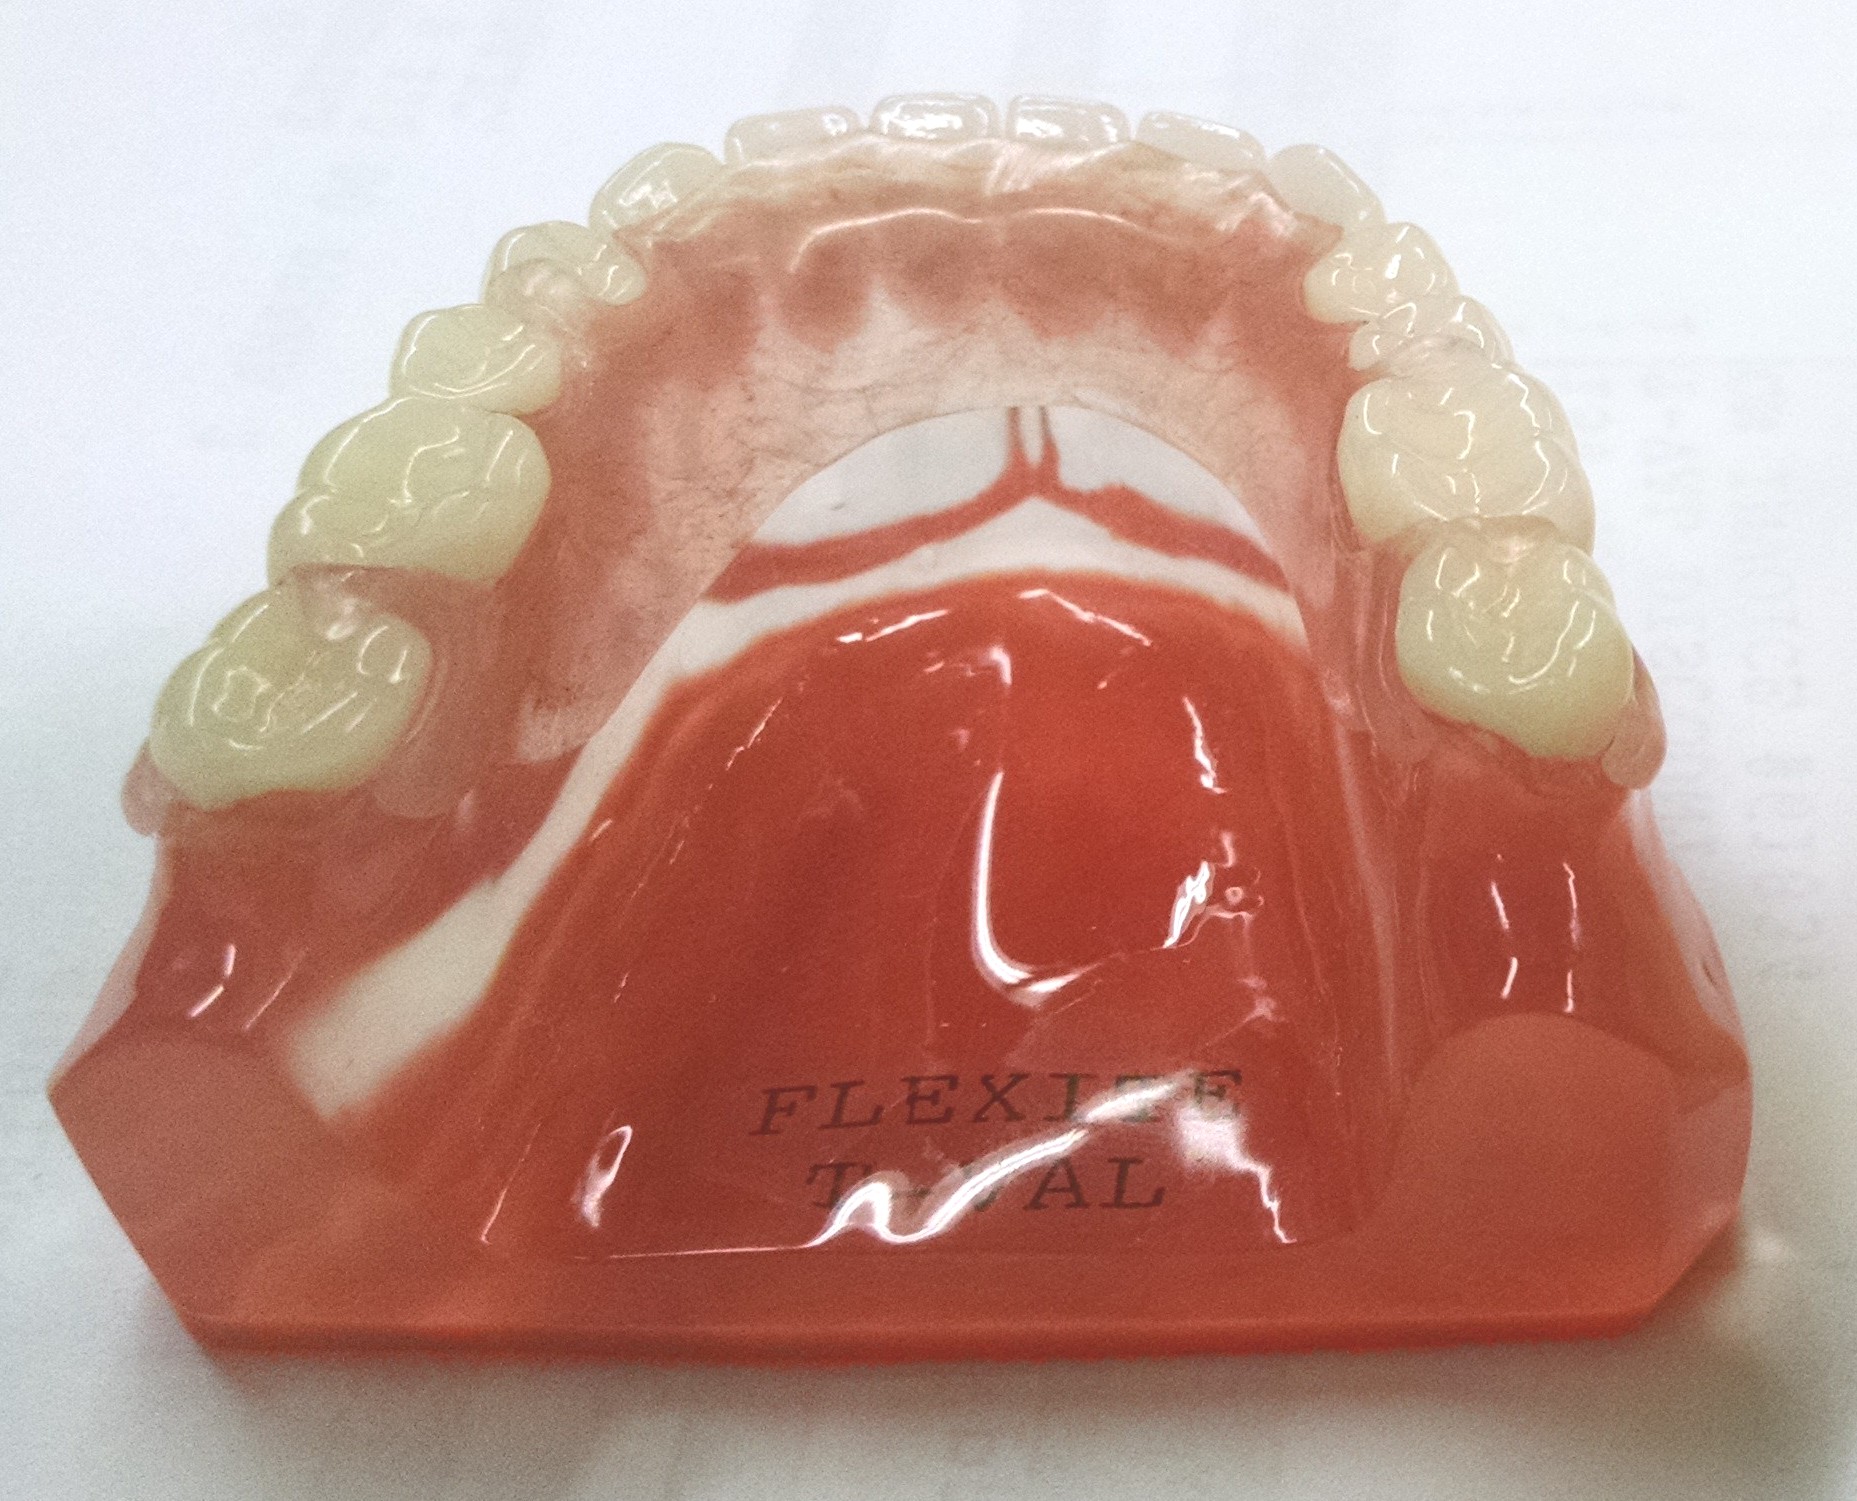
Flexite Flexible Partials and Dentures are made with the very best medical grade thermoplastics. With Flexite you have many different plastics to choose from.
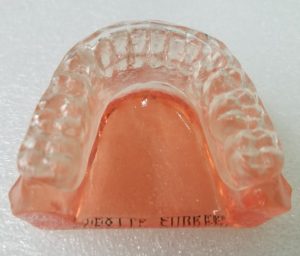
Flexite Supreme Crystal Clear Thermoplastic For TMJ, Bruxism Splints and Anti Snoring Devices.
E-mails are checked throughout the business day. Our customers are very important to us. Over 60 years serving the dental industry.
When you call Flexite, if we are busy and you get a recording please leave a message and we will return your call as soon as possible.
CLICK HERE TO READ ABOUT FLEXITE PREFORMED DENTAL CLASPS- CLASP-EZE
FLEXITE PHONE: (516)-746-2622
FLEXITE EMAIL: FLEXITE@AOL.COM